Find a plumber near you

We're Available 24/7! (360) 610-7901

Toilet Bubbling When Taking a Shower? Here’s What to Do

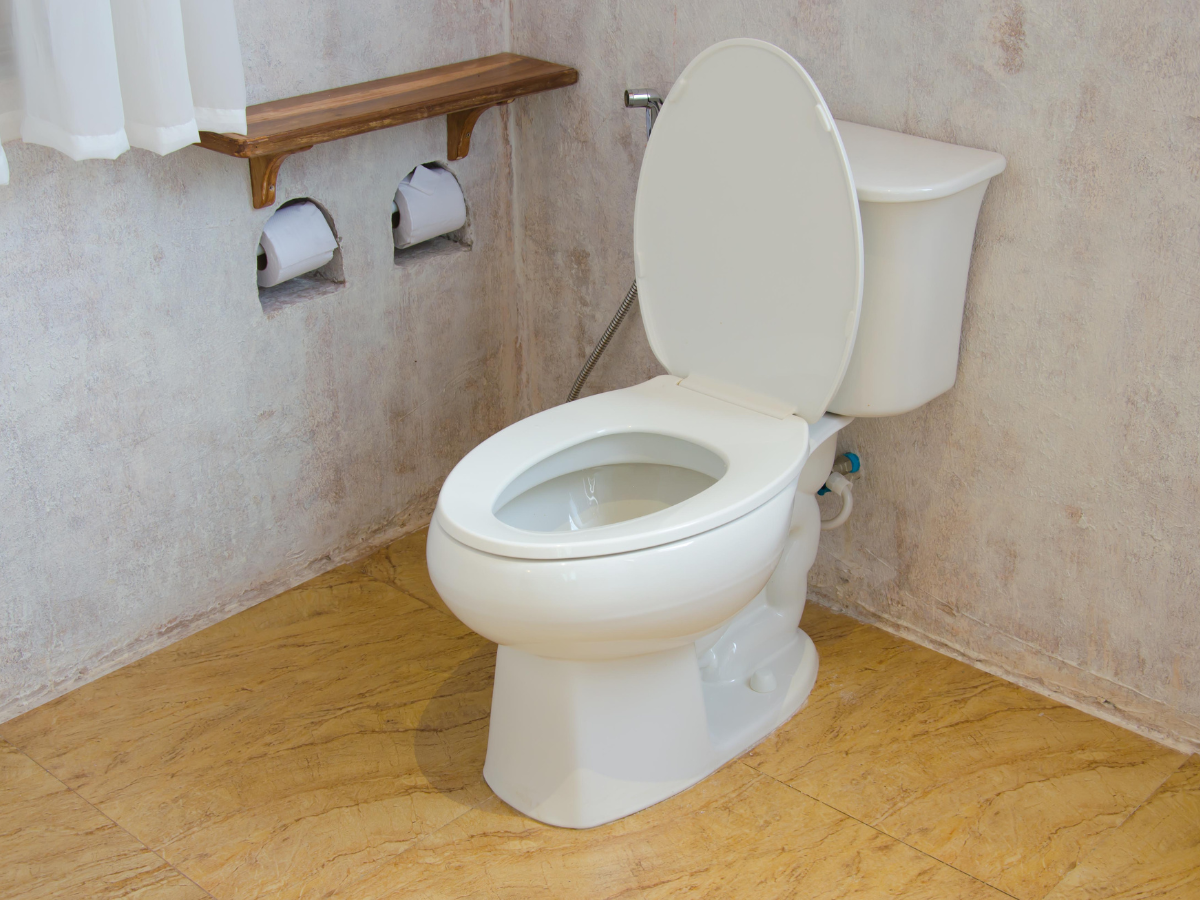
Experiencing a bubbling toilet while in the shower can be perplexing and a tad worrying. It’s one of those moments that make you pause and think, “Wait, that’s not supposed to happen, right?”. 

Well, at Full Speed Plumbing, we understand how these little (or sometimes big) plumbing inconveniences can disrupt your day. That’s why we’re here with expert advice to guide you through identifying the problem and taking the necessary steps towards a solution. Whether it’s a simple cleaning fix or something requiring more expertise, we’ve got your back. 

Stick around as we unravel this bubbly mystery and provide you with all the know-how to get your plumbing system running smoothly again.

Possible Reasons Why Your Toilet Is Bubbling When You Take a Shower

Here are some potential reasons why your toilet bubbles when you take a shower:

Drain Venting Issues

One common culprit could be issues with your plumbing vents. These are designed to regulate the pressure within your plumbing system, allowing wastewater to flow out smoothly and letting fresh air in. If these are blocked or not functioning correctly, it can lead to pressure imbalances that cause bubbling in your toilet.

Partial Clogs in Pipes

Another potential reason might be partial clogs within your plumbing system. Over time, hair, soap remnants, and other debris can build up, restricting water flow. When you shower, the additional water trying to move past these partial clogs can force air back up through the toilet, leading to those unexpected bubbles.

Obstruction in Sewer Line

Severe bubbling can also indicate an obstruction in the main sewer line. Whether due to tree roots invading the pipes or a buildup of waste material, this can significantly impact your home’s plumbing. It constrains the path for water and air, potentially causing bubbles or backflow into your home.

Air Bubbles in Toilet Trap

Lastly, the bubbling might be due to trapped air in the toilet’s P-trap. This U-shaped pipe holds standing water to prevent sewer gasses from entering the home. However, when air gets trapped in this section due to pressure changes, it may escape through the toilet bowl as bubbles during your shower.

What Can You Do To Address The Problem?

Are you tired of hearing your toilet bubble every time you want to take a refreshing shower? Be sure to give the following tricks a try:

  1. Inspect and Clean the Vent Stack: First, check the roof for your plumbing vent stack. Debris, leaves, or even bird nests can block these vents. Clean any blockage to restore proper airflow and pressure balance within your plumbing system.
  2. Plunge Gently: Using a plunger, gently plunge the toilet to dislodge any minor clogs causing the bubbling. Do not plunge too vigorously, as this could exacerbate the problem.
  3. Use a Plumbing Snake: For stubborn clogs that a plunger can’t clear, consider using a plumbing snake in the toilet and the shower drain. This unique plumbing tool can help break up and remove clogs further down the pipes.
  4. Check for Sewer Line Issues: If the problem persists, the issue may lie with the main sewer line. This task is usually best left to professionals, so consider calling a plumber to inspect for any signs of tree root intrusion or other blockages in the sewer line.
  5. Flush the Lines: Running a hose down the vents from the roof can help clear minor blockages and allow for proper venting. Be cautious and make sure the water pressure isn’t too high to avoid water backup.

By taking these steps into consideration, you can address and resolve the puzzling scenario of your toilet bubbling when showering. Remember, consistent maintenance and prompt attention to minor issues can prevent more significant problems.

Preventative Measures and Routine Maintenance

Maintaining a healthy plumbing system in your bathroom doesn’t have to be complex or time-consuming. By adopting some simple, routine actions, homeowners can significantly reduce the likelihood of plumbing problems, such as a bubbling toilet when showering. 

Be sure to review these practical tips if you want to keep your bathroom plumbing in top condition:

  • Regular Drain Cleaning: Make it a habit to clean your drains regularly. Use a simple mixture of vinegar and baking soda (followed by hot water) to break down soap scum and minor blockages. This natural cleaning solution is gentle on the pipes and can prevent buildup that leads to clogs.
  • Avoid Chemical Drain Cleaners: While they may seem like a quick fix, chemical drain cleaners are incredibly harsh and can damage your pipes over time. If you’re dealing with a stubborn blockage, mechanical cleaning methods like plunging or snaking are safer and often more effective.
  • Use Drain Screens: Place mesh screens over your shower and bathtub drain to catch hair and soap particles. This simple preventive measure can drastically reduce the debris entering your plumbing system, keeping water flowing smoothly.
  • Be Mindful of What You Flush: Not everything can (or should) be flushed down your toilet. Items labeled as “flushable”, like specific wipes and feminine hygiene products, can create blockages and stress on your plumbing system.
  • Schedule Annual Inspections: Consider having a professional plumber perform an annual inspection of your plumbing system. They can pinpoint and address potential issues before they become major problems, saving you time and money in the long run.

By integrating these tips into your home maintenance routine, you can ensure that your bathroom plumbing remains healthy, reducing the chance of unexpected issues like bubbling toilets. Remember, a little precaution and regular care can go a long way in maintaining the efficiency and longevity of your home’s plumbing system.

Conclusion

In conclusion, a bubbling toilet during a shower is more than a minor inconvenience; it’s a sign that your home’s plumbing system may need attention. From blocked vent stacks and partial pipe clogs to more significant sewer line obstructions, various issues could be causing this problem. 

Fortunately, by following the practical steps outlined—from simple DIY solutions like vent stack inspection and drain cleaning to seeking professional help for more complex sewer line issues—you can effectively address and resolve these plumbing puzzles. Investing in a regular maintenance program and preventive measures is key to ensuring the smooth operation of your bathroom’s plumbing and building a more efficient living space.

Should you encounter persistent or complicated plumbing issues, don’t hesitate to call the experts. Full Speed Plumbing in Mount Vernon, Washington, is ready to assist you with any plumbing challenges you face and ensure your system operates efficiently and effectively. 

Contact us today for professional, reliable service that keeps your home’s plumbing in top condition.

How to Get Rid of Rust in Water At Home

Rust-colored water flowing from your taps at home can be a real cause for concern. 

But don’t fret! Rusty water is a common household issue and is much less daunting than it seems. 

Before you start imagining costly plumbing jobs or water treatments, we’re here to guide you through simple, do-it-yourself solutions. 

In this blog post, we’ll break down the causes of rust in water, and offer you step-by-step methods to tackle it efficiently, right from the comfort of your own home. 

Our aim? Clear, rust-free water in no time! Let’s dive in.

Why Is There Rust in Your Water?

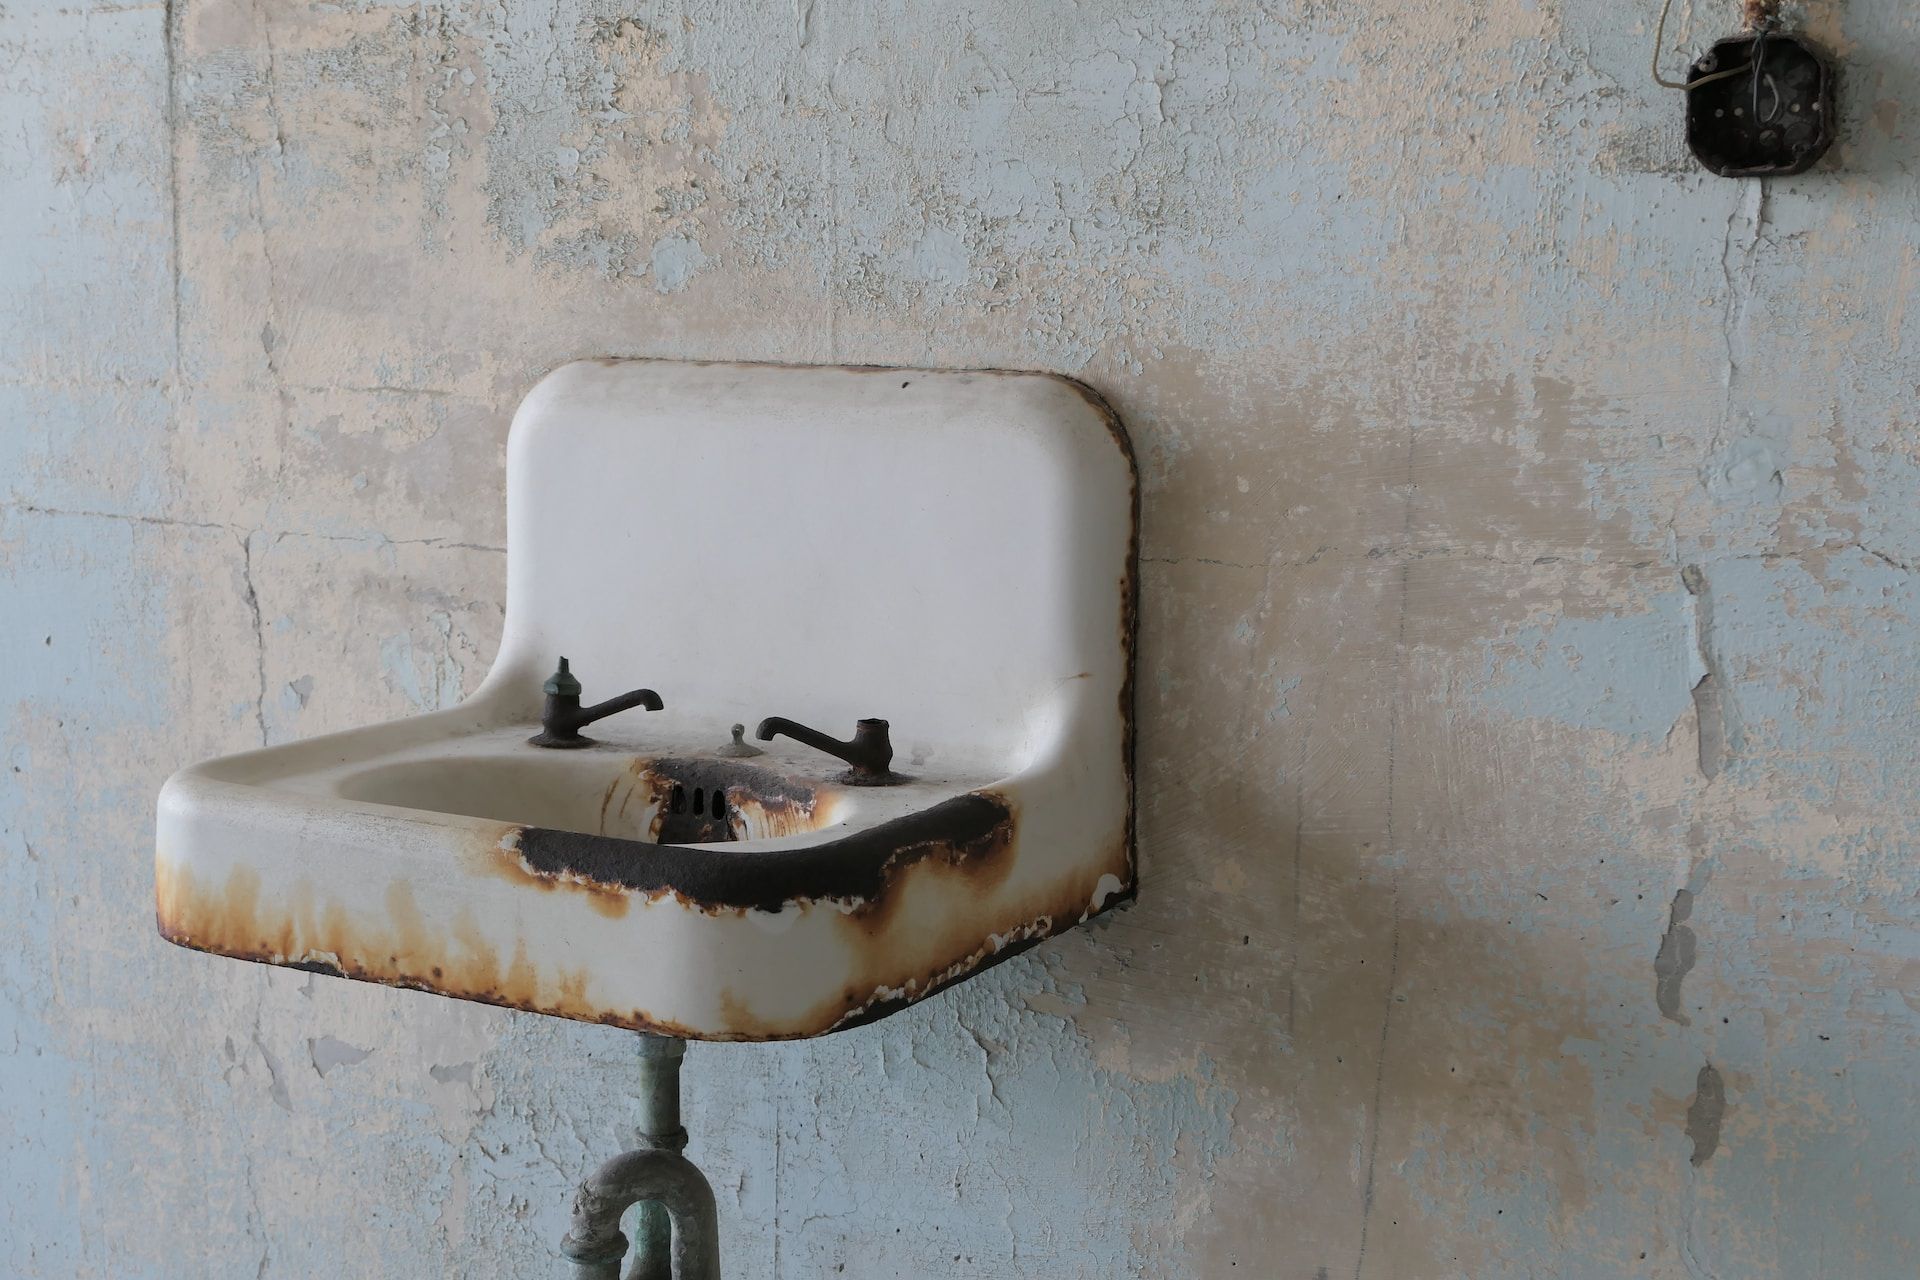
Rust in your water might strike you as a surprise. So, what’s behind it? The culprit is usually your home’s old iron pipes. Over time, these pipes can corrode, causing rust to flake off into your water. This affects the color of your water and gives it a rather unpleasant metallic taste. 

Another possible reason is a rusty or old water heater. If you only notice the rust when you use hot water, your water heater could be to blame. 

Maintenance is key; don’t let the rust get the better of you.

Can You Drink Rusty Water?

While rust-colored water might not look or taste appealing, it’s not typically a health hazard. That’s right – consuming small amounts of rust from your water does not generally pose any serious health risks. 

However, it’s crucial to understand that rust can significantly affect the sensory aspects of your water. The presence of rust often discolors the water, turning it an unusual shade of reddish-brown. In addition, rust can affect the flavor of your water, giving it an unwanted metallic taste. 

So, while it might not harm your health, rust-colored water can be a nuisance to your senses.

The Ultimate Step-by-Step Guide to Eliminating Rusty Water

Are you tired of dealing with rust-colored water? Do you miss the taste of crisp, clean drinking water? 

If so, you can make use of our ultimate step-by-step guide!

  1. Identify the Source: The first step to clear, rust-free water is identifying the source of the issue. If rust appears when both hot and cold water is on, the problem might be in your pipes. If it only appears when the hot water is on, your water heater may be corroded.
  2. Flush Your Pipes: If rusty pipes are your problem, try flushing them out. Turn on every water outlet (faucets, showers, etc.) in your home at full blast for about 20 minutes. This could help dislodge and wash away any rust deposits.
  3. Clean Your Water Heater: In case of a rusty water heater, it needs a good cleaning. First, turn off the electricity or gas supply for safety. Then, using a garden hose, drain all the water from the heater. After it’s completely empty, refill it, and then drain it again. This process helps to flush out any rust sediments.
  4. Install a Water Softener: If you live in an area with hard water, installing a water softener can prevent further rusting. These devices remove minerals like calcium and magnesium, which can cause rust over time.
  5. Replace Old Pipes: If the above steps don’t work, you might need to consider replacing your old pipes. This is a more expensive solution but might be necessary for seriously corroded pipes. Doing this can also help you deal with rust in well water. Consult with a professional plumber to discuss this option. 

Remember, prevention is always better than cure. Regular maintenance of your pipes and water heater can go a long way in avoiding rusty water. Stay vigilant and act at the first sign of rust. 

Let’s keep that water clear!

How Can Regular Plumbing Maintenance Help Prevent Rusty Water?

Keeping your plumbing system in top shape is crucial for preventing rust-colored water, and regular maintenance carried out by licensed professionals, like our team members at Full Speed Plumbing in Mount Vernon, WA, is key to achieving this. 

Now, why is this so important?

Licensed professionals have the expertise to meticulously inspect your plumbing system, identifying any minor issues before they escalate into major problems. They can spot early signs of rust in your pipes or water heater, allowing for timely action to prevent rust from tainting your water.

In addition, our team of experts can provide comprehensive cleaning services, which can help eliminate any existing rust sediments within your system. Regular flushing of your pipes and water heater, as done by a professional, ensures that rust deposits are dislodged and removed, maintaining the clarity and taste of your water.

Moreover, our licensed professionals can advise you on the optimal intervals for maintenance and the best practices for your specific plumbing setup. For instance, if you live in an area with hard water, we might suggest installing a water softener to counteract the minerals that speed up rusting.

So, let’s not underestimate the power of regular professional maintenance! It’s an investment toward ensuring a rust-free, efficient, and long-lasting plumbing system. After all, prevention is always better than cure.

How to Get Rid of Rust in Water At Home — Conclusion

In conclusion, dealing with rust in your home’s water supply doesn’t have to be a daunting task. 

By identifying the source of the problem, whether it’s corroded pipes or a rusty water heater, you can take effective measures to restore the quality of your water. Regular flushing of your system and professional maintenance is critical in preventing rust accumulation. 

And, while rust-colored water isn’t typically harmful, it can certainly compromise the sensory aspects of your water, affecting its color and taste. Hence, addressing the issue at the first sign of rust is always wise, ensuring clear, rust-free water for you and your family. Remember, investing in regular maintenance and preventive measures can save you from potential hassles further down the line.

At Full Speed Plumbing in Mount Vernon, WA, we are ready and equipped to help you maintain a rust-free plumbing system. 

Don’t let the rust get the better of you. Schedule your plumbing maintenance check with us today and say goodbye to rusty water for good. 

Remember, prevention is better than cure, and clear water is only a call away!

How Long Does A Garbage Disposal Usually Last?

Many of us take our garbage disposal units for granted. It’s an easy-to-use, environmentally friendly, convenient, practical, and low-maintenance appliance.

Like all machines that work hard, your garbage disposal is bound to reach a point when replacement is necessary. In this blog, we will examine the lifespan of a typical trash disposal unit. We will also break down the factors influencing it and give you tips on maximizing its longevity.

If you’ve ever asked yourself, “How long will a garbage disposal work?, you’ve come to the right place.

Continue reading to get started.

How Long Does a Garbage Disposal Last? — An In-Depth Guide for Homeowners

On average, a well-maintained garbage disposal unit can last anywhere between 8 to 15 years. This may seem like a wide range, but there are several factors that can influence the lifespan of your unit.  

Here are some key factors to keep in mind if you’ve been wondering, “How long does a garbage disposal last?”:

  1. Usage: The frequency and manner in which you use your garbage disposal unit significantly affect its longevity. Regular but moderate use helps maintain the unit’s efficiency. Overloading or frequently disposing of hard waste can lead to faster wear and tear.
  2. Maintenance: Proper maintenance and care can extend the lifespan of your garbage disposal unit. Routine cleaning and running cold water after each use can prevent build-up and corrosion.
  3. Quality of the Unit: Not surprisingly, the quality and make of the unit itself is a factor. Premium models tend to have a longer garbage disposal lifespan, while budget options may need replacement sooner.
  4. Installation: Correctly installing your garbage disposal unit is crucial. Poor installation can result in more frequent breakages and a shorter lifespan.
  5. Water Quality: Water quality can influence the longevity of your disposal unit. Hard water contains significant levels of minerals and can cause build-up and corrosion over time.

By understanding the answer to the question, “how long does a garbage disposal last?”, you can take confident steps to prolong the life of your garbage disposal unit and ensure that it remains a convenient and reliable tool in your kitchen for years to come.

What Can You Do To Make Your Garbage Disposal Last Longer?

Here are some straightforward steps you can take to ensure the overall longevity of your garbage disposal unit:

  1. Avoid Overloading: Consistently overloading your garbage disposal can lead to unnecessary strain and quicker wear and tear. Instead, feed waste in small amounts and allow the unit to grind and clear before adding more.
  2. Run Cold Water: Always run cold water during and after every use. This aids in the grinding process and helps transport waste through the pipes, decreasing the chance of blockages and build-up.
  3. Avoid Hard or Fibrous Waste: Hard items like bones or fibrous materials like corn husks can damage the blades or clog the system. Try to compost such items or dispose of them in your regular trash.
  4. Clean Regularly: Regular cleaning prevents build-up and keeps the unit running smoothly. You can use a combination of ice cubes, rock salt, vinegar, and baking soda for a natural cleaning solution.
  5. Annual Inspection: Have a professional inspect your unit annually to address potential issues before they escalate and ensure it runs optimally.

By implementing these steps, you can help maintain efficiency, avoid unexpected repair or replacement costs, and prolong the lifespan of your garbage disposal.

What Foods Should You Avoid Putting in Your Garbage Disposal If You Want It to Last Longer?

While garbage disposals are designed to grind food waste, not everything belongs in them. Here’s a list of foods that you should avoid putting down in your garbage disposal unit if you want it to last longer:

  1. Grease and Fats: These can solidify in the disposal and pipes, leading to blockages. Instead of pouring fat down the garbage disposal, collect it in a jar and dispose of it once hardened.
  2. Coffee Grounds: While they may seem harmless, coffee grounds can accumulate in the drain and pipes over time, causing clogs.
  3. Eggshells: It’s a common misconception that eggshells sharpen disposal blades. In reality, the thin membranes can wrap around the shredder ring, leading to blockages.
  4. Pasta, Rice, and Bread: These items expand when exposed to water. When dumped into the disposal, they can swell and stick to the walls, causing blockages.
  5. Bones and Seafood Shells: These hard items can damage the disposal blades or get stuck, leading to a jam.
  6. Fruit Pits and Apple Cores: These are too hard for the garbage disposal to grind and can damage the motor or blades.
  7. Fibrous Vegetables: Items like celery, asparagus, onion skins, and corn husks have fibers that can tangle around the disposal blades, leading to blockages.
  8. Potato Peels: The starches in potatoes turn into a thick paste when ground, which can stick to the blades and cause a clog.
  9. Non-food Items:It should go without saying, but items like plastic, metal, glass, or paper can damage your disposal and pipes.

Understanding what not to put into your garbage disposal can help keep it in optimal working condition, extend its lifespan, and save you from costly repairs or replacements.

How Long Does A Garbage Disposal Usually Last? — Conclusion

The lifespan of a garbage disposal unit can vary significantly depending on a number of factors. Your unit can last many years with proper care, regular maintenance, and thoughtful usage. Contact us at Full Speed Plumbing; we can help you with your garbage disposal. 

Our expert plumbers are always available to provide the best service, including installation, maintenance, and repairs. Contact us today to get the most from your garbage disposal unit.

Avoid overloading your unit, run cold water every time you use it, and do not put any fibrous or hard waste in the disposal. Avoid dumping grease, coffee grounds and eggshells, pasta, rice, seafood shells, and bones, fruit pits, and apple cores in your unit.

By following the steps above and keeping these tips in mind, you can ensure that your garbage disposal unit will continue to work smoothly for many years.

Request Service